The home pack provides a wifi mesh network that works right out of the box. Unpack the devices, give one of them access to the router, and connect them to power.
Safety Rules for AirTies Access Points
- Make sure the devices stand upright and do not cover up or otherwise block the holes, as they provide necessary ventilation.
- Avoid exposing the devices to heat sources such as stoves and direct sunlight.
- The devices should not be used at temperatures below 0°C or above 40°C. Humidity should be between 10 and 90%.
Installing the Home Pack
Before you begin, unpack all the devices and make sure you remove all the protective plastic.
- Connect one AirTies device to the house router with the enclosed network cable (white cable with yellow plug).
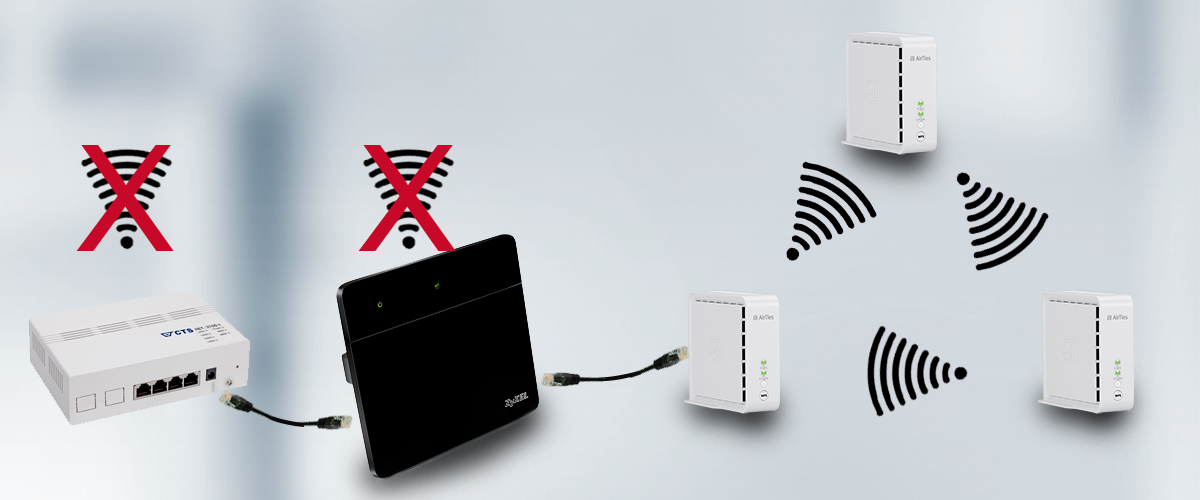
You may have a separate router, or an IAD which is a multi-function device that includes router functionality. No matter how many different devices you have in your setup, the AirTies device should be connected to the router.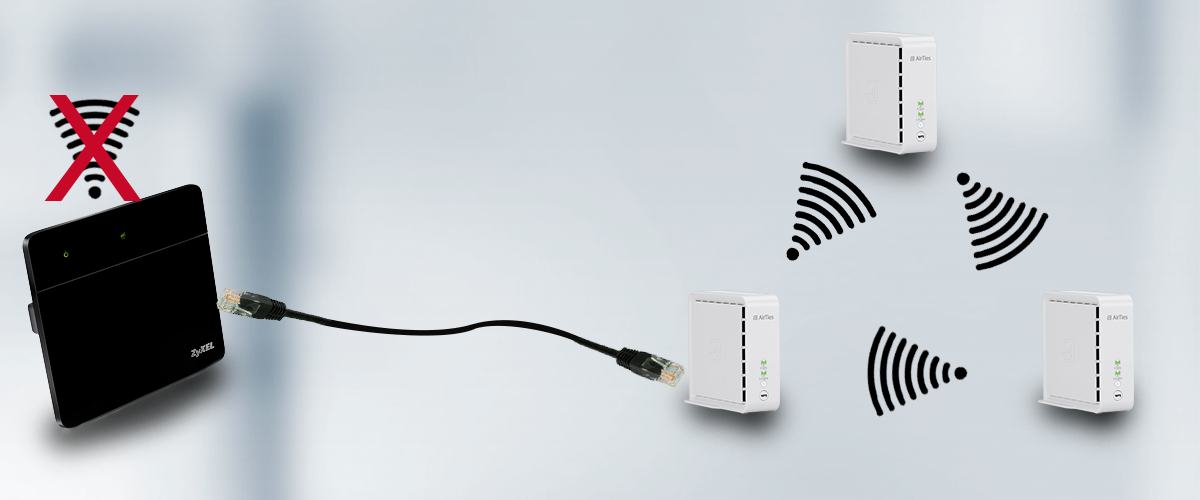
- Connect all devices to power and turn them on.
- Enhetene vil nå automatisk koble seg til hverandre. Dette kan ta opptil tre minutter. Når tilkoblings-LEDene på alle enhetene slutter å blinke og lyser grønt, er tilkoblingen opprettet.
- If the 5 GHz light indicator does not turn green with a short flash within three minutes, see LED signals on the Airties home pack.
- If you have additional devices to be included in the network, follow the instructions in extending the AirTies Network with an additional device before you start distributing the devices in your home.
- Turn off the wireless radios in your router or IAD, and disconnect any Wi-Fi extenders you may have been using previously. This is done to prevent the networks from interfering with each other.
- Typically, you can do this by logging on to your router via the web.
- In some cases, you’ll need to contact your Internet Service Provider (ISP) to get this done.
- Distribute your devices so that you get coverage everywhere in your home:
- For advice on positioning the devices for optimal coverage and performance, we recommend the Placement guide.
- If you want to give more of the AirTies devices wired Internet access, see Setting up airties Ethernet mesh.
At any time, you can also extend your network with one or more additional devices