Parental control lets you decide which clients (PCs, mobile phones and other devices) can connect to the Internet, and when.
For example, you may set up the control so that Wi-Fi is unavailable at night for some (or all) devices in the house. You can also specify that some devices should not get internet access at all.
Here’s how to set it up:
- Open the AirTies Wi-Fi app (see how to get the app here if you don’t already have it).
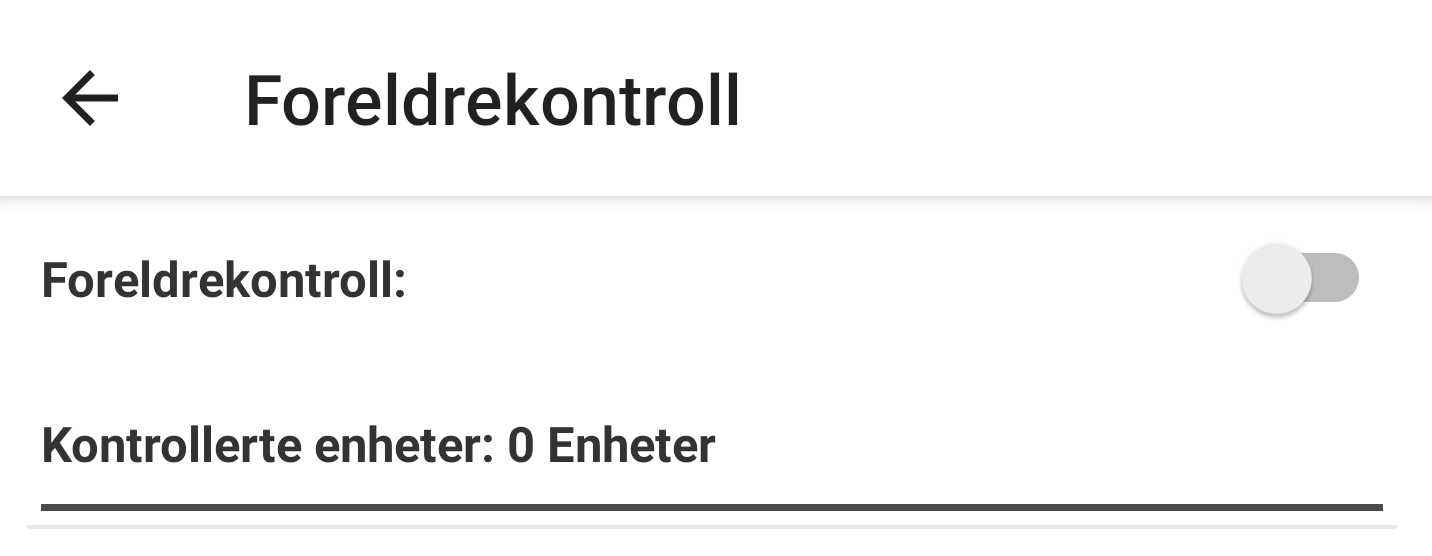
- Open Parental Control.
- Activate parental control by tapping the slider.
- Choose which client / devide the parental control should apply to.
- Tap the slider to enable parental control for the selected client.
- Set the start and end times for internet access.
- If this setup is to be repeated, select either Repeat every day or click on the days it should be applied.
- If you do not want this client to have access to wireless Internet at all, you can tap Disable Internet access.
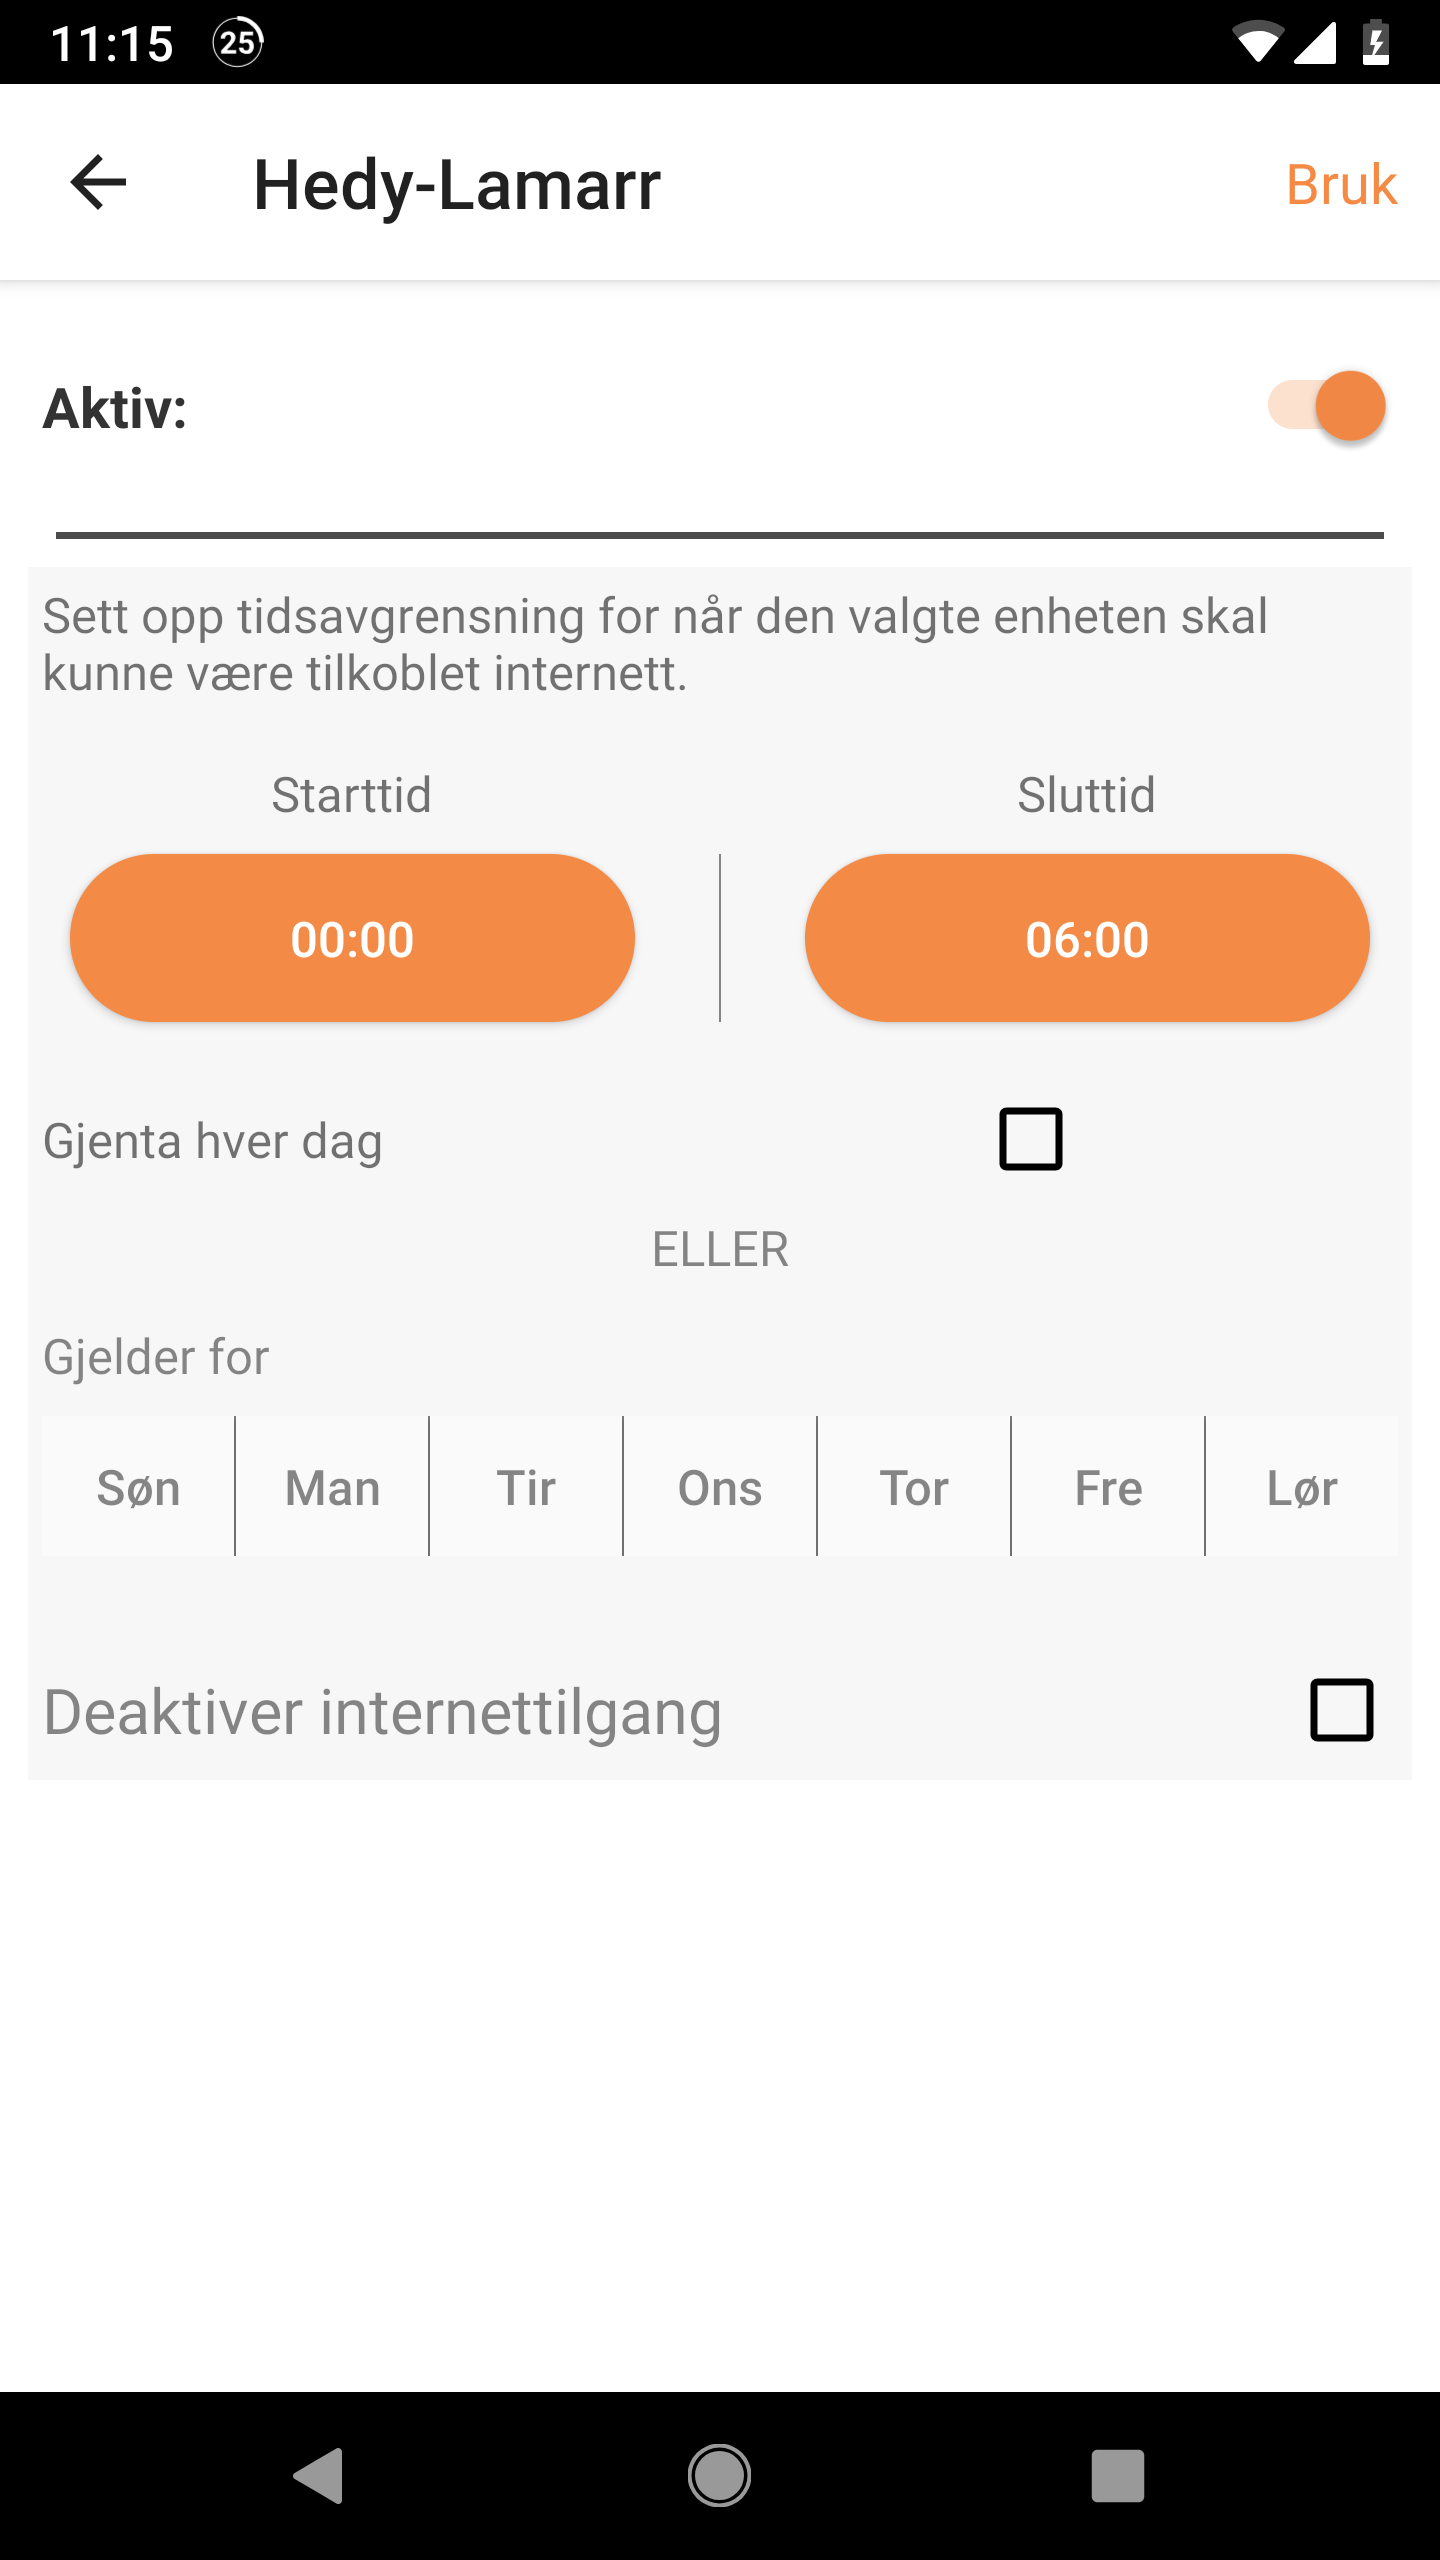
- When you’re done, tap Apply in the top right corner.
To access Parental Control, AirTies needs firmware version 2.44.6.1.4338 or later.