This guide shows you how to place the Airties devices so that they are able to communicate with each other and provide coverage throughout the home.
Safety Precautions
- All devices must stand upright. Do not cover or block the holes/perforations, they provide necessary ventilation.
- Avoid exposing the devices to heat sources such as stoves and direct sunlight.
- The devices should not be used at temperatures below 0°C or above 40°C. Humidity should be between 10 and 90%.
Principles for AirTies Access Point Placement
The most important things to keep in mind when placing your AirTies devices in your home are:
- One device must be connected by Ethernet cable to a router or modem with router functionality.
- The coverage area surrounding each access point is like a sphere, it extends in all directions.
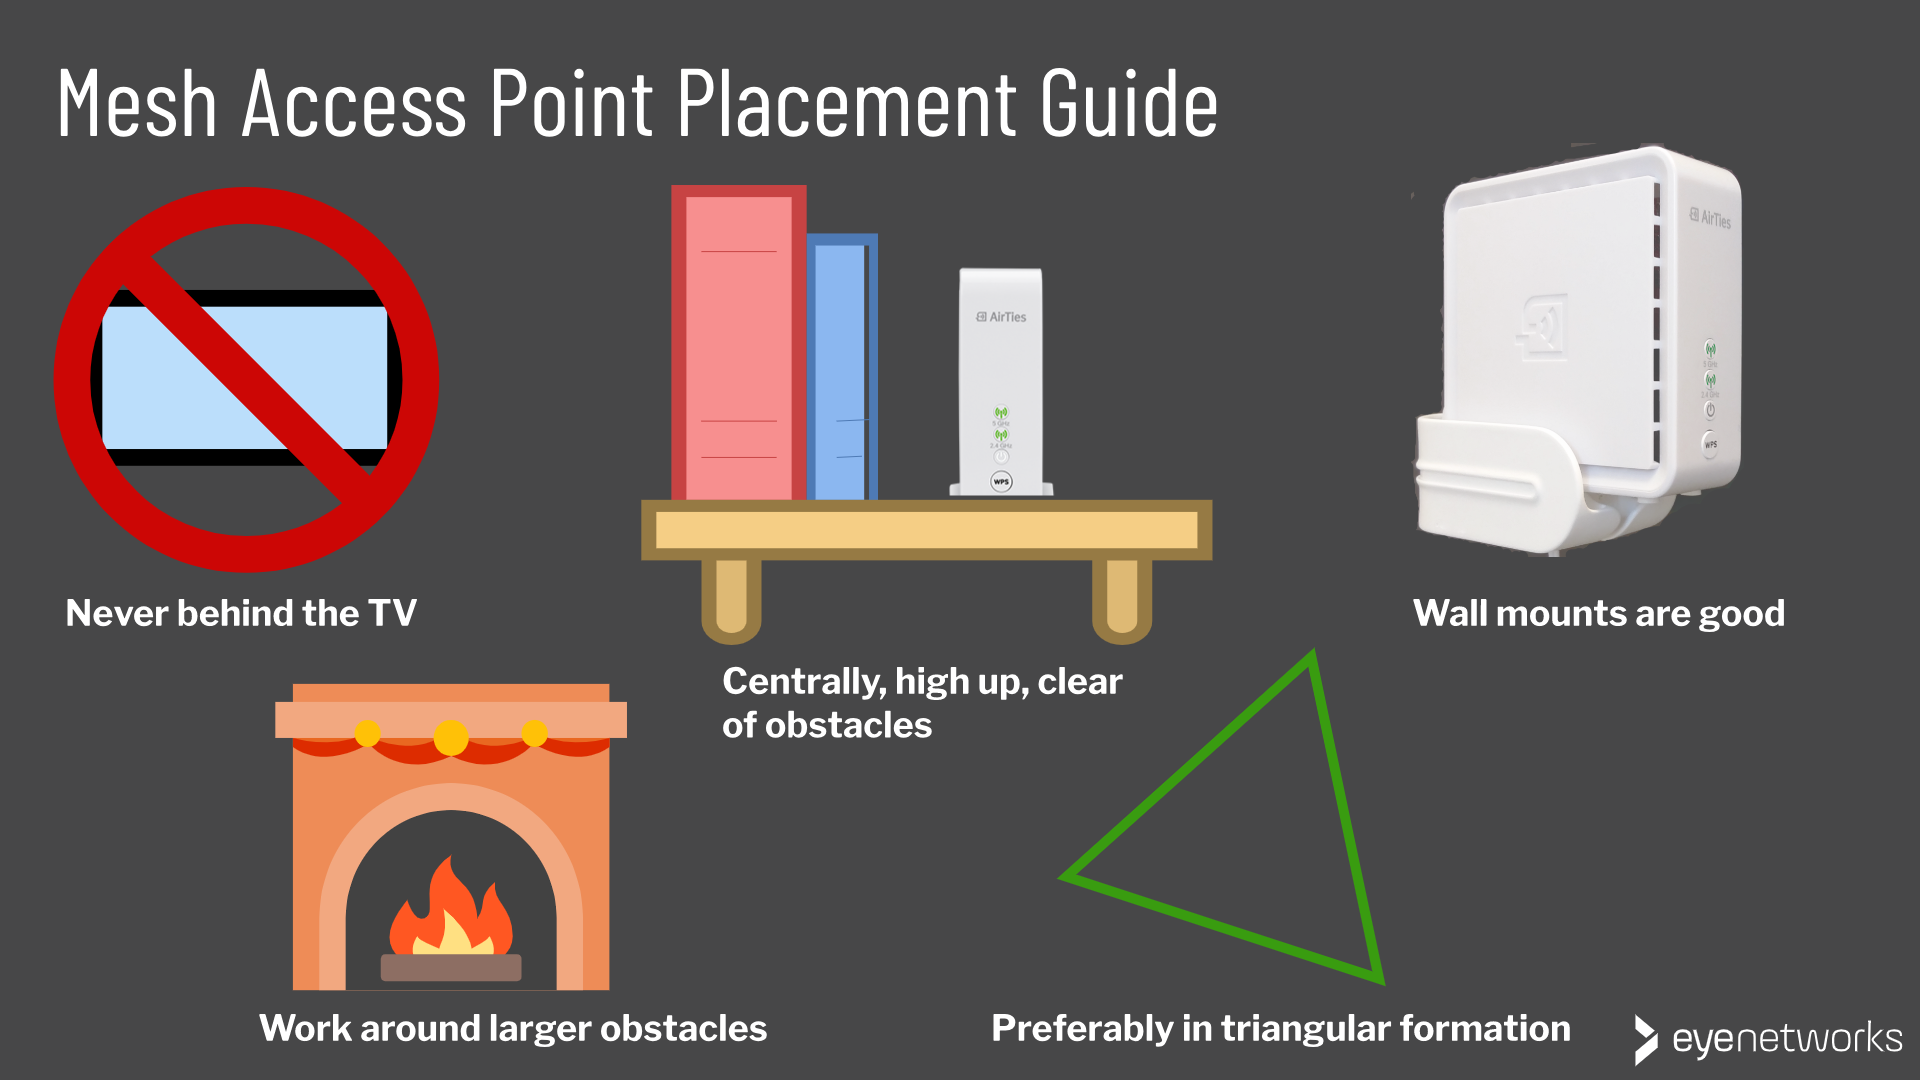
- You get the best performance and coverage when all your devices can reach each other wirelessly. You should therefore try to avoid “daisy chaining”–placing them in a line–a triangle formation is far better, see the illustrated examples below.
Check the light signals on your access points along the way to make sure they are connected and successful in contacting each other.
1. Look for Central Spots
Because each device sends signals in all directions, placing a device close to an outer wall will send half the signal out of the house. This can be nice if there is a terrace or garden on the outside where you want coverage, but otherwise, you will probably benefit from placing the device more centrally.
Hallways are often good locations for reaching several rooms- Staircases are favorable because they provide more open passage for the signals.
2. Watch Out for Obstacles
Heavy building materials cause significant signal loss.
If you have any of the following:
- A fireplace
- A bathroom with floor heating
- Hydronics
- A large aquarium
- Reinforced concrete in the building
- Timber
… these will tend to block the signals. Place the access points so that they can be reached both by each other and by the client devices that will connect to them.
Fireplaces, aquariums, and other obstacles in the room
Check that the signals do not have to go through the fireplace to reach clients or the other access points.
Heating cables, hydronics, reinforced concrete floors
It is especially favorable to place the access points near a staircase when there are obstacles in the ceiling and floor.
Bathrooms with reinforced walls
If there is a bathroom with steel walls, underfloor heating and similar that is situated between other rooms in the home, try to make sure that the line of sight between access points goes around and not through the bathroom.
See also the article 10 things that interfere with and block Wi-Fi signals here in Wi-Fi Central.
3. Place the Devices High Up and Away From Interference
DO NOT place the device behind electronics, such as television sets, and try to keep a distance from other possible sources of interference, such as ceiling fans, alarm systems, microwave ovens, and cordless phones.
The ideal access point placement is high up with a clear line of sight and nothing to cover it, typically:
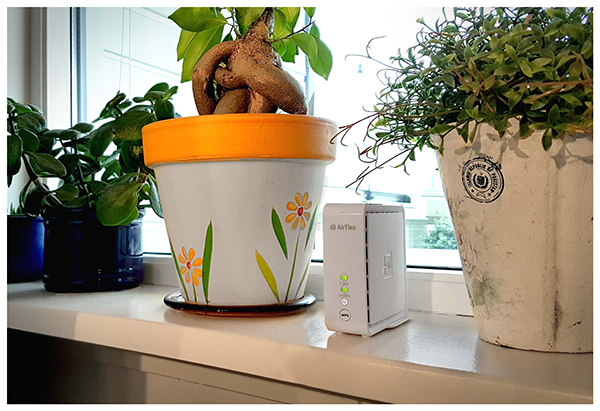
- On a shelf
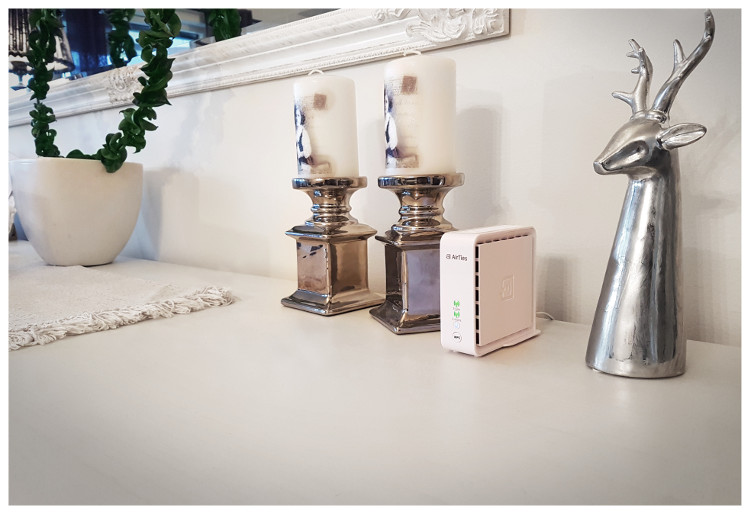
- On a chest of drawers, sideboard or similar
- Mounted on the wall with a wall mount (AirTies wall mounts are available)
It is especially important to avoid placing the devices behind other items on the same shelf, notably electronics like TV sets, speakers, and so on. This can block and disturb the wireless signals.
When do you need more than three AirTies devices?
Three access points are sufficient to provide full coverage and stable performance for the vast majority of homes.
Very large housing, demanding layouts, and difficult building materials can make it necessary to add more devices to get full coverage. This also applies if you have a garage, a garden terrace or a larger annex you want to cover.
In such cases, it may also be a good idea to consider a wired internet connection for more than one of your access points. See Setting Up AirTies Ethernet mesh for requirements and instructions.
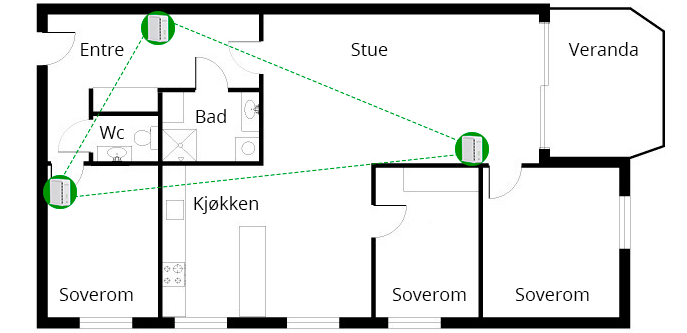
Example 1: AirTies Mesh in an Apartment
This is a four-room apartment of 90 square meters. By only having Wi-Fi from the router located in the living room, you would struggle to get good coverage and acceptable performance in the bedroom that is farthest away.
Three access points placed as illustrated will provide you with good wireless coverage throughout your home.
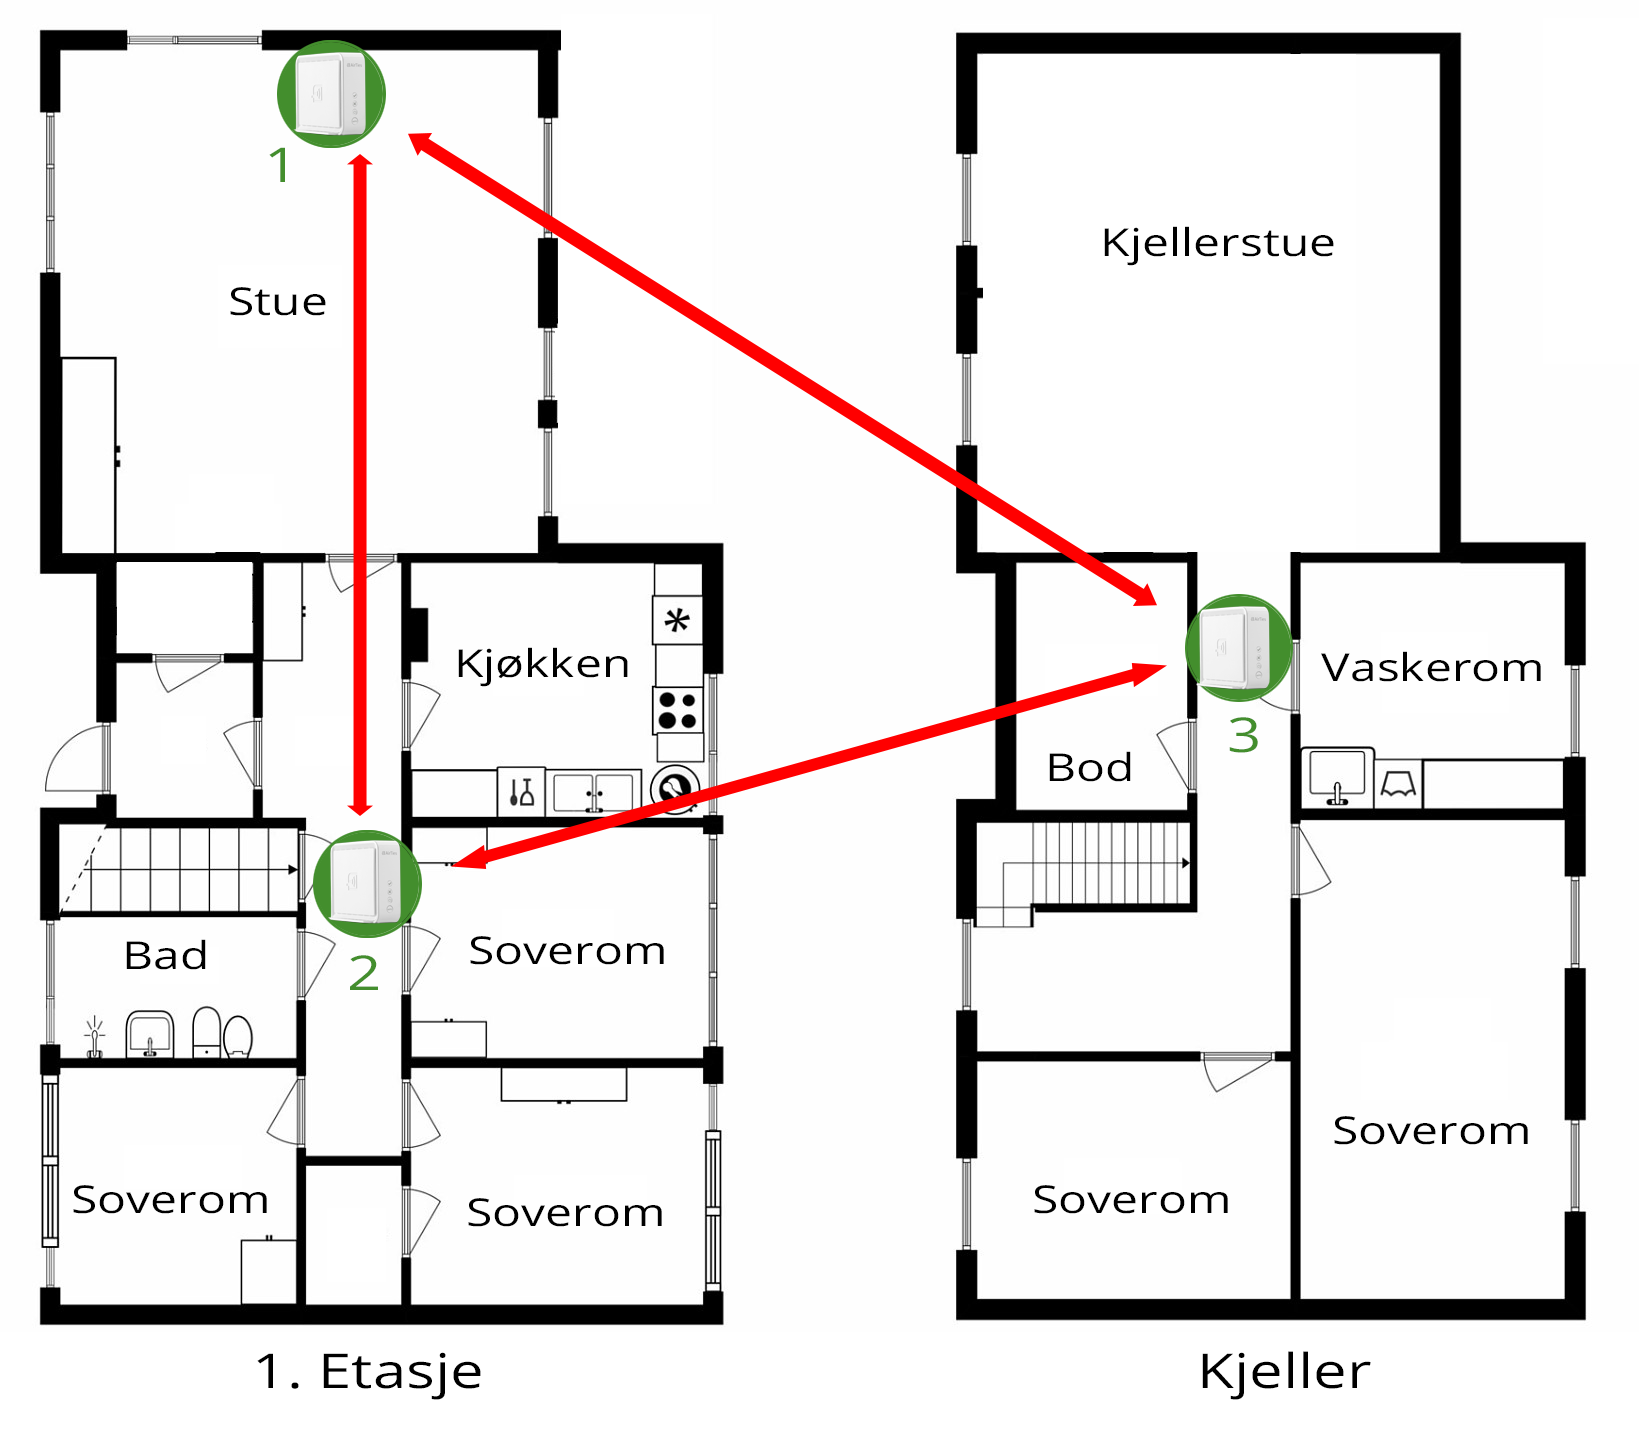
Example 2: AirTies Mesh in a Two-Story House
In this two-story house the router is centrally located in the living room next to what becomes placement #1. The coverage is poor in the bedrooms on the same floor, and in the basement the signal strength is minimal.
The problem is solved by placing the three AirTies devices as illustrated. #2 provides coverage for the bedrooms, and with #2 and #3 both located near the stairway, signals between floors should be taken care of. #3 provides coverage on the lower floor.